by Caz | Dec 31, 2010 | !Bailey Guitars, Custom paint jobs, Electric guitars
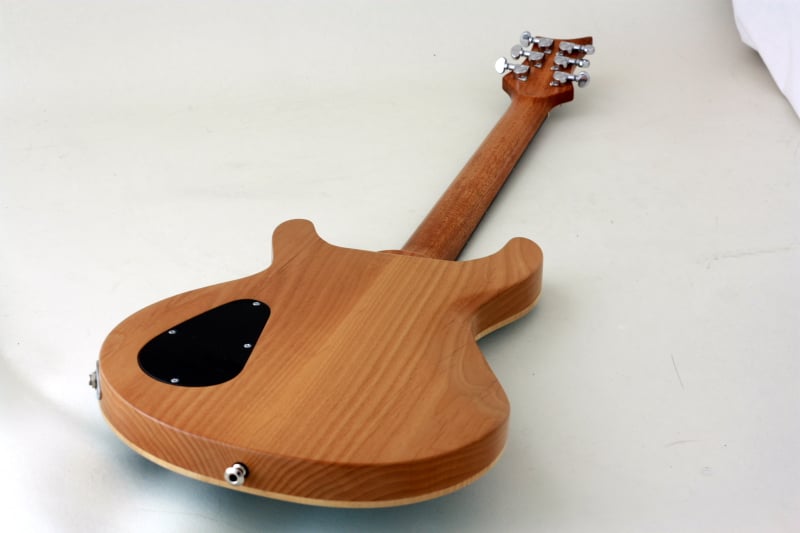
Hope you like it Tony! Yesterday we took advantage of the thaw to courier the guitar. Fingers crossed, Tony should be recieving his new custom Bailey right about now….It was supposed to be with him for xmas but unfortunately the weather put a stop to that. Hope...
by Caz | Dec 20, 2010 | !Bailey Guitars, Custom paint jobs, Electric guitars
…Putting it all together… After assembling and fret dressing the guitar it’s time for the final set up. This is basically setting the action and the intonation which didn’t take more than 15mins. So there it is -Tony’s new custom Bailey...
by Caz | Dec 19, 2010 | !Bailey Guitars, Custom paint jobs, Electric guitars
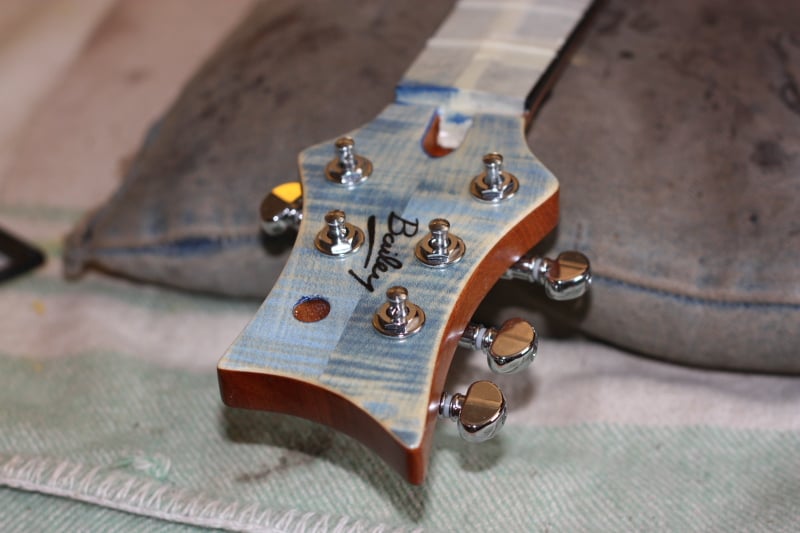
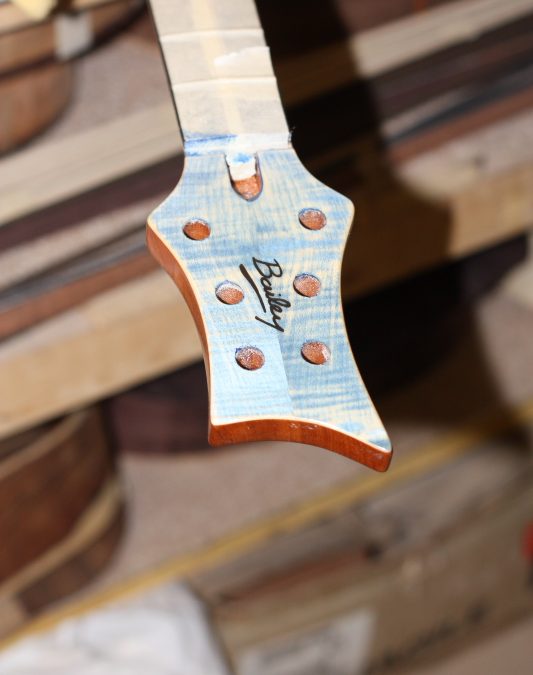
…This colour is very cool and quite easy to do… The back and sides were first sealed so if any colour runs onto these areas it will easily come off. Then colour is applied to the front of the body and the headstock. In this case it is just ordinary water...
by Caz | Dec 19, 2010 | !Bailey Guitars, Custom guitars, Electric guitars
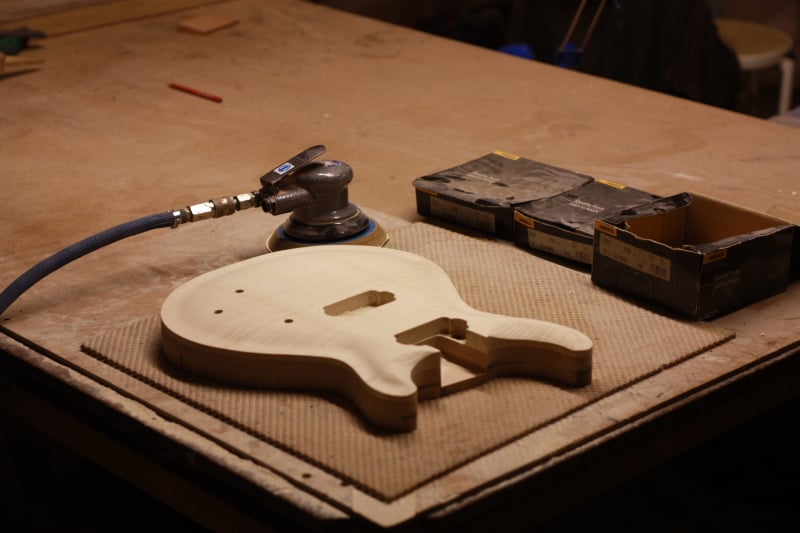
…..Carving the top…and the ‘belly carve’….. This is what I call a full carve – it works on virtually any shape. Carving the top like this a 3 stage process: Carve a facet – I use a rasp and flat plane for this. Carve the...

by Caz | Dec 16, 2010 | !Bailey Guitars, Acoustic guitars, Artists, Custom inlays, Repairs
Aug 11, 2009 @ 14:09 Me and Carol delivered the guitar to Martin today. To be honest I was still not sure about the magnets holding on the truss rod cover and the knot-work panel on the side of the guitar. I had left this unglued because it was the only access to the...