
by Caz | Jun 30, 2011 | Build Your Own, Guitar Making Students
…Only two more days to go! Can you see what it is yet? End of Day 5! Dave will have to finish these tomorrow A neat trick Billy helps out Dave starts to fit his inlays Kevin starts to sand his headstock Marking the side dots Nick frets his neck Cutting out the...

by Caz | Jun 29, 2011 | !Bailey Guitars, Acoustic guitars, Artists, Baritone, Jumbo, News and Events, Preston Reed Signature Editions
Preston talks about his Bailey custom baritone acoustic From ’41 Stories’ blog…. A conversation with Preston Reed- One of the worlds most gifted guitarists Part 1 of a Two-Part Series about one of the world’s most musically gifted guitarists, Preston...

by Caz | Jun 28, 2011 | Build Your Own, Guitar Making Students
…Late finish but still on schedule… Day 1, Day 2, Day 3 Day 4 10am till 9pm Kevin has to get his fretboard sprayed and Dave and nick must have theirs glued on to have any chance of finishing on time. Stevie (bass) stepped in to carry on with his 5 string...
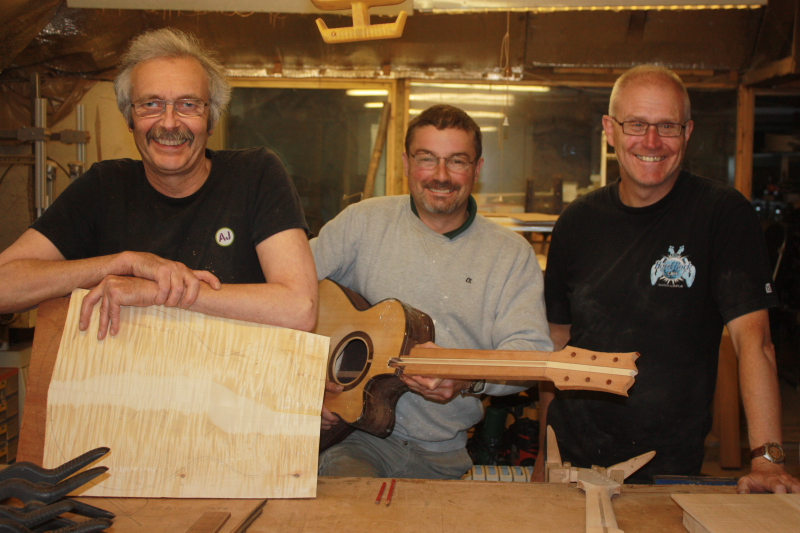
by Caz | Jun 27, 2011 | Build Your Own, Guitar Making Students
…Another day in the Bailey workshop… Day1, Day 2 Day 3 10am till 7:30pm David and Kevin are making custom electric guitars. They started two days ago with rough blocks of wood and will be playing them by day 7. Nick is here to finish his acoustic which was...
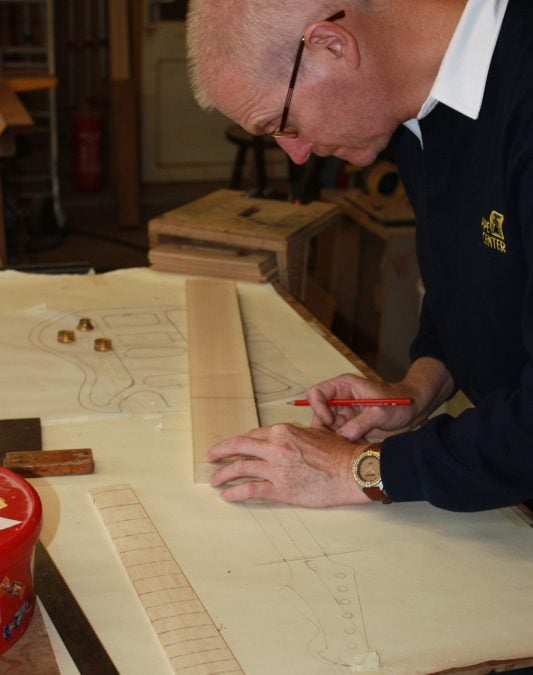
by Caz | Jun 26, 2011 | Build Your Own, Guitar Making Students
Today we will mostly be making necks… Day 2 of 7 10am – 7pm Back to Day 1 For Dave and Kevin, our new starters, yesterday was all about fixing their designs and choosing wood etc, so today we could get stuck into building. We had also managed to make fret...