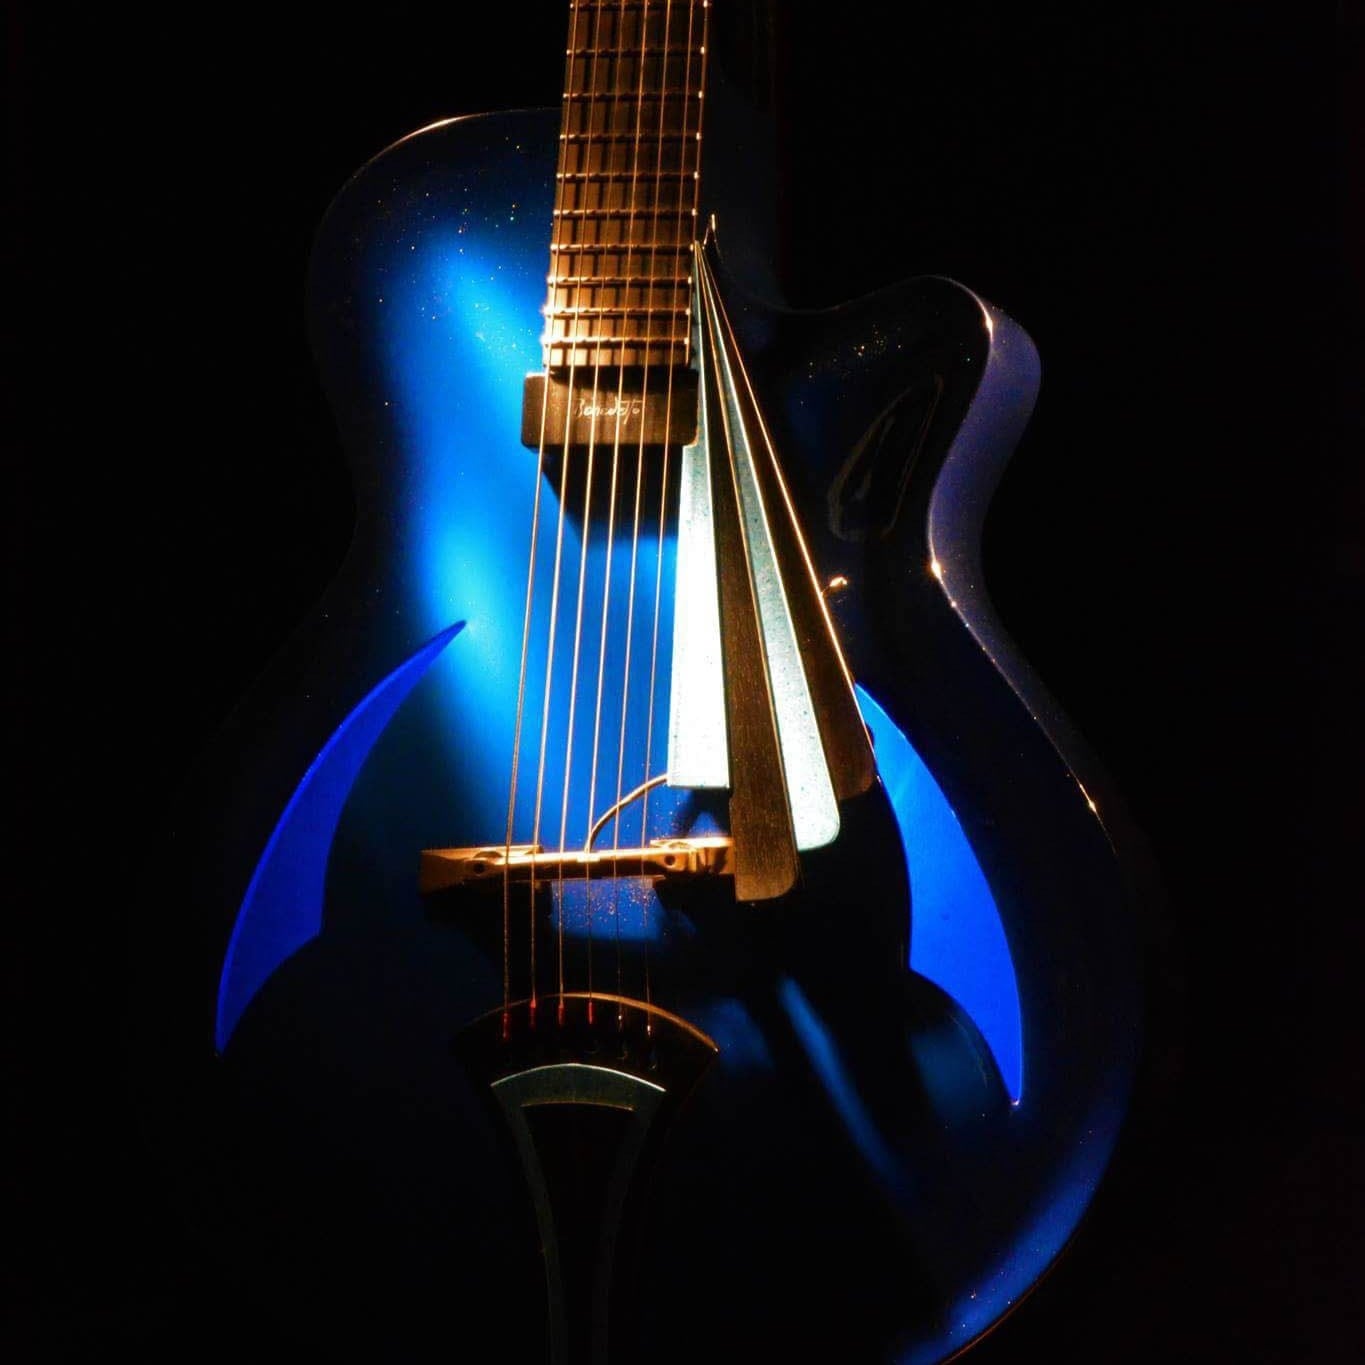
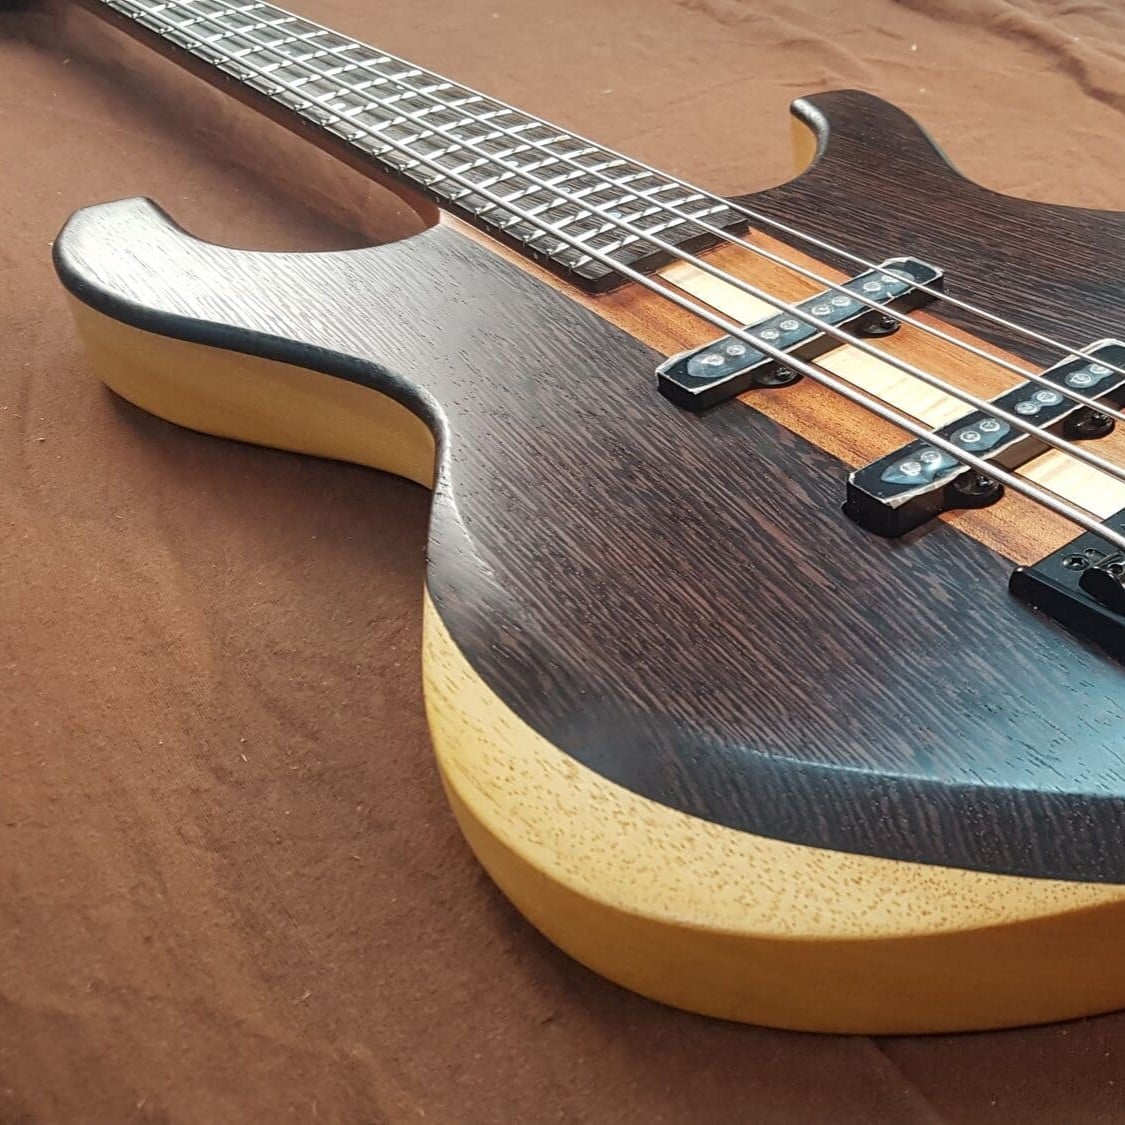
New Hannes Bridge
Apr 2nd
New Hannes Bridges available now for custom Bailey electric guitars and BYO’ers
- Hannes bridge nickel
- Hannes bridge chrome
- Hannes bridge satin chrome
- Hannes bridge black chrome
- Hannes bridge gold
- Hannes bridge ruthenium
- Hannes bridge satin pearl
- Hannes bridge vintage copper
- Hannes bridge with piezo
- Flagship preamp
- john pollock’s BYO guitar
- John with his bailey BYO guitar
Hannes Bridge
The Hannes bridge is billed as the most comfortable bridge in the world. I was a bit skeptical about that, but ordered a couple. One was requested by John Pollock on one of our Build Your Own Custom Guitar courses and I also wanted to try one for myself. They are a little expensive but you get what you pay for… John also had a nanomag pickup inset into the end of the fretboard for a more ‘acoustic’ tone – This was the best solution at the time as there were few options. John’s guitar was the co-star of the Bailey Promo film made by course mate Mark Screeton. The end result was pretty good, I hope you will agree, and the bridge worked out great.
The Hannes came about by a collaboration between designer Roland Hannes and Graph Tech, whose nuts and saddles we have used for many years, and is distributed by Schaller. The saddles are made from the familiar Graph Tech material that has served us so well in the past providing great tone, sustain, durability and consistancy in abundance. You can read all the blurb about it on the Schaller website but here are my thoughts as a guitar maker:
I love the design. It’s about time someone came up with something different – I wouldn’t say futuristic but it looks right bang up to date. The metal parts are available in the normal chrome, black or gold coating so it will match any normal hardware- tuners, jack socket plate etc. The bridge is very functional – it has a large amount of adjustment for saddle height and intonation and it is indeed very comfortable ‘in use’. When used in combination with a Graphtec nut the sound is maximised – noticibly loader and longer sustian.
On the downside it was a little tricky to fit but I have since made a simple router jig to make it a bit easier. The two bolts that go through the body have to be drilled very precisely as they have to line up exacly with the corresponding holes on the bridge and determine where it sits on the front. Luckily there are downloadable instructions and patterns to help get it in the right place. There is also a slot to route for the string retainer which is not recommended for the faint hearted – Hannes recommends finding a luthier to fit it for you – that’s what were here for!
I doubt it would ‘retro-fit’ on your old guitar but if you were making one yourself, or having one made for you, this bridge would be an excellent choice.
Hannes with Piezo Saddles
Ian is currently on the course building a single cut style guitar with a chambered body. He also chose a Hannes bridge and wanted an acoustic sound as well. Thankfully, the Hannes bridge is now also available with Piezo saddles built in – Graphtec happen to make one of the best piezo systems in the world so I have high hopes for this. The preamp is made by Schaller – they call it the Flagship so we’ll see if it lives up to it’s name. Ian is due to finish his guitar some time in June so I will keep you posted.
You can specify a Hannes bridge on any Bailey electric guitar
The Hannes bridge appears to have been accepted by (known for our fussyness and reluctance to try anything new) players and seems to be becoming quite popular. Overall it is a winner which is why we have added it to the list of options for all Bailey electric guitars. If you would like a custom guitar with (or without) a Hannes bridge contact us with your requirements.
Coming Soon…
I am currently making 3 new guitars all with stunning quilted maple caps. They will be finished soon, so have I decided to put the spare Hannes on one of these.
These guitars will all be brand new colours so watch out for that in a few weeks time…
Left Handed Custom Bailey Exotica – Part 1
Mar 30th
Design session and wood selection
- Simon works on his drawing
- Laminates for custom exotica
- ‘Brown’ Maple for the body wings
- Spalted Maple Cap
- Body Laminates
- Neck Laminates
- neck laminates assembled dry
- Body laminates assembled dry
- So good I photographed it twice
- You want to touch it don’t you
- Neck and body wood
- The piece for the Body wings
Simon found us by trawling the internet and fell in love with the Exotica in our online shop.
The only problem was he plays left handed so we arranged a visit to the workshop for a design session and we drew out the guitar to confirm all the details.
It turned out that he really did like the Exotica- his spec was virtually identical apart from a few extra custom options.
Simon chose some Spalted Maple for the Cap while he was here but I have some more on order so I will post pictures when it arrives and he can choose which one he likes.
It will be a while before I am ready to glue on the Cap so there is no rush just yet, I will start by gluing up the neck laminates anyway…
The rest of the wood for the neck laminates and the body wings came from our friends at David Dyke.
We got lucky with the body wings (Thanks David) – we specified ‘Brown’ Maple, as used on the original.
Brown Maple is just plain maple with dark marks in the wood- it works great with a Spalted Maple Cap.
The only Brown Maple David had also has some really nice flame in it so that is a bonus (As long as Simon likes it of course).
Personally I think it is going to look amazing – no colour just a natural satin finish to bring out the figure in the wood.
There are quite a few extra laminations which will make gluing up the blanks a little tricky but the effect of the additional Black pinstripes will be spectacular.
Simon’s choice of custom hardware includes an original Floyd Rose bridge with a tungsten sustain block.
Contact us with your own custom guitar requirements.
Custom Left Hand Exotica Spec
Scale Length - 25 1/2″
Number of Frets – 24 correction – 22
Neck Style – Thru
Body wood – Brown Maple body wings
Cap – Laminated: Black pinstripe 3mm (1/8″) |Mahogany, Back pinstripe, 12mm (1/2″) Spalted Maple
Neck Wood – Laminated: 32mm (1.25″) Flame maple,black pinstripe, 3mm (1/8″) mahogany, black pinstripe, 9mm (3/8″) plain maple, black pinstripe, 3mm (1/8″) mahogany, black pinstripe, 32mm (1.25″)flame maple
Fretboard – Ebony
Hardware Colour – Gold
Bridge – Floyd Rose Original with L3 Locking Nut and Tungsten Block
Pickups – Bareknuckle PG Blues humbuckers with gold covers
Tuners – LSR tuners
Bailey Logo – Black
Custom Guitar – Rohan – Build Part 2
Mar 23rd
It is starting to look like a guitar now
- Routing the body chambers
- The finished body chambers
- Gluing the cap
- The glue is wiped clear of the body chambers
- Gluing the cap
- The fret press
- Installing the frets into a compound radius fretboard
- Now the side dots are installed
- Routing the pickup slots
- The pickup slots are routed
- The body shape is cut out
- Routing the neck slot
- The finished neck slot
- The neck is fitted into the body
- Closeup of unfinished neck joint
- It looks like a guitar!
Rohan came a few weeks ago for a design session which was made into a two minute timelapse film when he chose very detail of the build and even designed his own body and headstock shapes.
I started to make it last week, I am now well into the build and everything is going well.
The body is made from Meranti which is very light weight and the chambers routed into it will make it even lighter. I have to be very careful when gluing the cap on not to leave any dust or chips in the holes or they will rattle about for eternity as there will be no f-holes to vacuum it out from. If the glue runs down into the hole or beads form around the top edge of the hole when the cap is put on, these may one day break free and drive us crazy, so I run my finger around the top of each hole which prevents this from happening.
After the cap is glued there is nothing to stop me making the body. After routing the pickup slots I cut out the body shape with the bandsaw and then profiled the body with the router. I used the same pattern as when I made the chambers, fixing it with double sided tape before copying the shape with the router.
After that I made the slot in the body for the neck to fit into. There are still some jobs to do on the body and the neck angle still needs to be set but I am waiting till the bridge arrives before I do that, and there is always the headstock logo to keep me busy. Rohan has also asked for a custom inlay on the truss rod cover but there is no rush for that just yet.
Now the neck has been fretted and the side dots are installed, apart from the headstock inlay, I cannot do anymore work on the neck until Rohan has visited, as he opted to be here when I carve it.
I have done a little carving just to remove most of the excess bulk but I will wait until he is here before I go any further.
Contact us if you would like to commission your own custom guitar or have a look in our online shop for guitars ready to ship | The Bailey Collection
Bailey Custom Bandsman Build – Norwegian Wood – Part 4
Mar 22nd
Kristian’s custom Bailey Bandsman guitar – woodwork completed and ready for spraying
- The neck is fitted into the body
- Neck angle cut into heel
- Neck angle jig
- Routing the neck angle
- Now the neck fits perfectly
- The belly carve
- Ready for gluing the neck in
- Clamping the neck
- Bridge mounting holes are drilled
- Bailey gold MOP headstock logo
- The headstock is completed
- The guitar is ready for spraying
Fitting the neck is a two part job.
First the slot is made in the body for the neck to fit into, then material is removed from the bottom of the heel to make the neck angle.
After this there are a few jobs which need doing before the neck can be glued. I used a gouge to make the belly carve- I could have used the same rasp I use for carving the neck but the gouge is quicker and feels more crafstmanlike…
All the holes are drilled for the pick up wires, jack socket, and strap studs, but I leave the bridge mount holes until after the neck is glued.
The edges of the body have been radiused and the neck and body are both sanded thoroughly.
Now the neck can be glued using two clamps to hold it in place until dry.
The next morning I drilled the bridge mount holes and the hole for the earth link wire.
The headstock was inlaid with a gold mother of pearl Bailey logo, and after a few more hours judical final sanding, the guitar is now hanging in the back room ready for spraying.
The finish will be tobacco burst with satin lacquer which should really bring out the figure in the wood- I will make a blog about this next week.
Contact us to commission your own Bailey Custom guitar, check out our full range of instruments and have a look at our online shop for other instruments ready to ship today.
New ‘Little Eye’ video with Euan Malloch playing his Bailey Acoustic
Mar 21st
Euan is playing his Bailey Bootlegger with his band ‘Little Eye‘.
I love these guys! They make it look easy don’t they…
From a guitarmakers point of view this is what is all about at the end of the day – my guitars are not the finished product, it’s the music.
Watch out for the close up of the headstock at the end – my favourite part:)
It’s a buzz to see one of my guitars in such a brilliant video – Thanks guys!
If you would like a Bailey Guitar of your very own contact us and we’ll build it for you.


